While points, levels and badges are not the crux of gamification, they are important elements. Also, I love earning badges. And making badges. And talking about badges.
In Tech Adventure, I came up with the idea of awarding pieces of a treasure map for each adventure that was completed in hopes that would compel players to complete all of the adventures. It worked well and I decided I would incorporate that idea in this game.
So, on the King’s Road, students/adventurers will have to explore 12 different stops on the way (Side Quests). They don’t have a choice to skip the Side Quests. That is where they do the math! There is choice inside those areas though. Their goal is to explore, answer some questions, solve some puzzles, etc and then they “find” the map. Finding the map is the last piece of the module, so Badgr automatically awards it when students are finished with the Side Quest.
The process for making the map is the same as Tech Adventure, so you can check that page for more details.
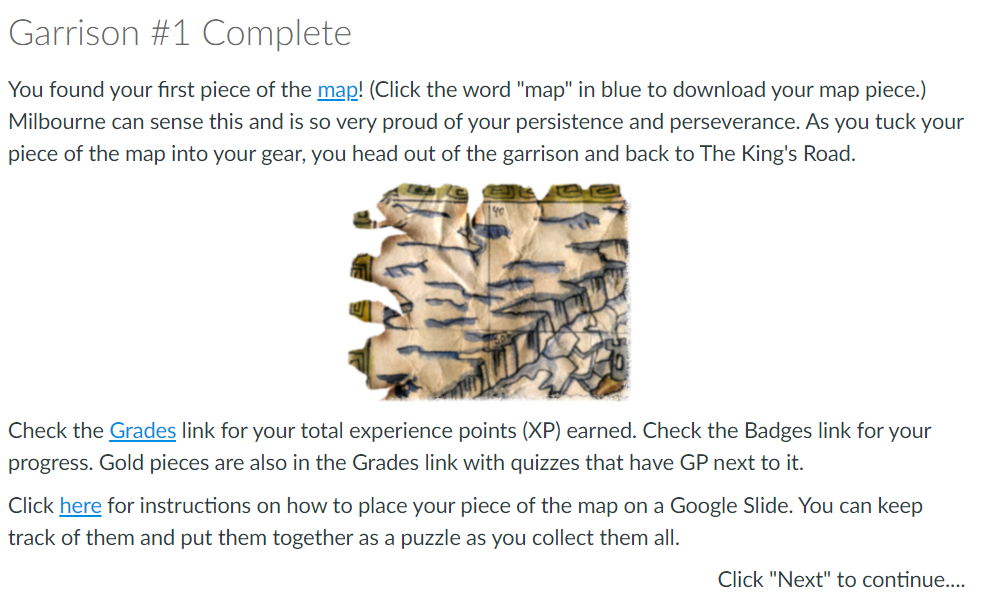
Once students have completed a Side Quest, the last page of the module looks like this:
Students can download their pieces of the map and keep them on a digital board. I created a Google Slide template for them to use. I used this picture and saved it as the background image of the slide. That way, it won’t move as students add pieces of the map.
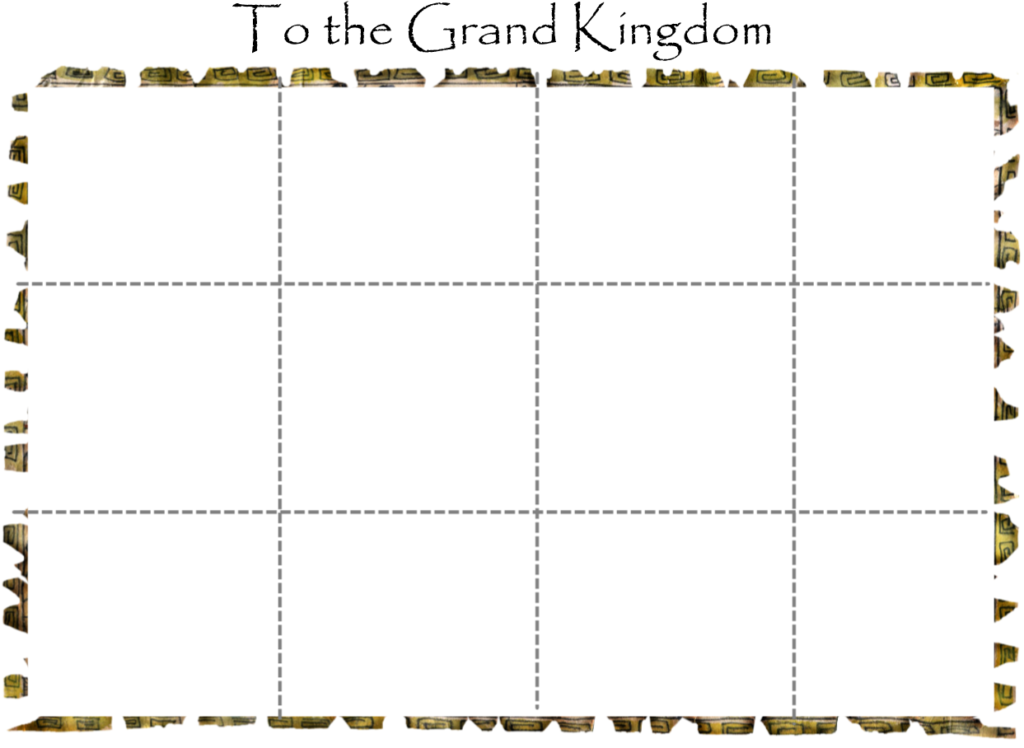
Students can then download the map piece from Canvas and upload it to the Google Slides template. Here are the instructions I have for students:

The link to the map template forces students to make a copy. The trick to do that is to replace the word “edit” in the slide url with the word “copy.”

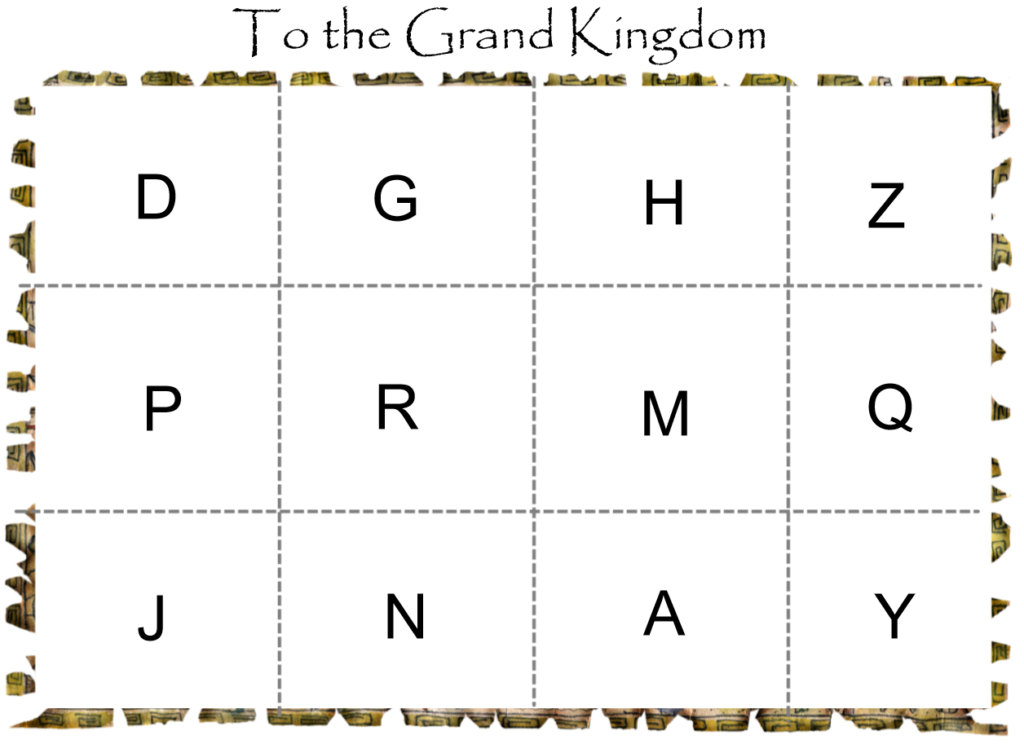
I realized when I snipped and saved my map pieces to use in Badgr, I saved them as MapA1, MapA2, etc for top row, then MapB1, MapB2, etc for next row…. I had to change that because I figured the kids would pick up on that and be able to just place their pieces in the right places! So, I changed them to random letters and had to make myself a key for where they should be placed.