
Once the Modules were finished, I began creating a map to use for the badges. I’m not sure when the idea hit me to make that the “thing” that teachers would work towards, but having pieces of a treasure map as the badges is one of my favorite things yet! Gamification isn’t just adding points, badges, and a leaderboard. It has to have some other overarching goal – some sort of interesting game play. You also need to know your audience (your players). I know most teachers like to check off lists, they like to complete their tasks. Having a game board with missing pieces of a treasure map would, hopefully, compel them to complete the entire course.
I subscribe to iStock images. I know this is a pricey endeavor, but I need exceptional royalty-free images I can use for courses and publications so I made the investment.
You can also search Google for images labeled for reuse with modification. It does limit your choices, but then you aren’t violating copyright if you use one. Here’s how:
- Search for your image.
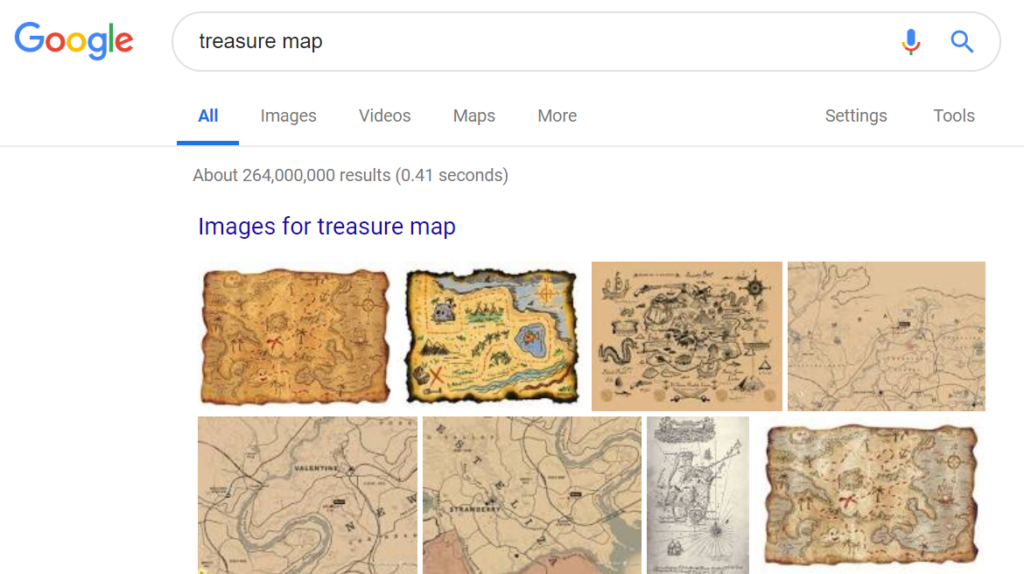
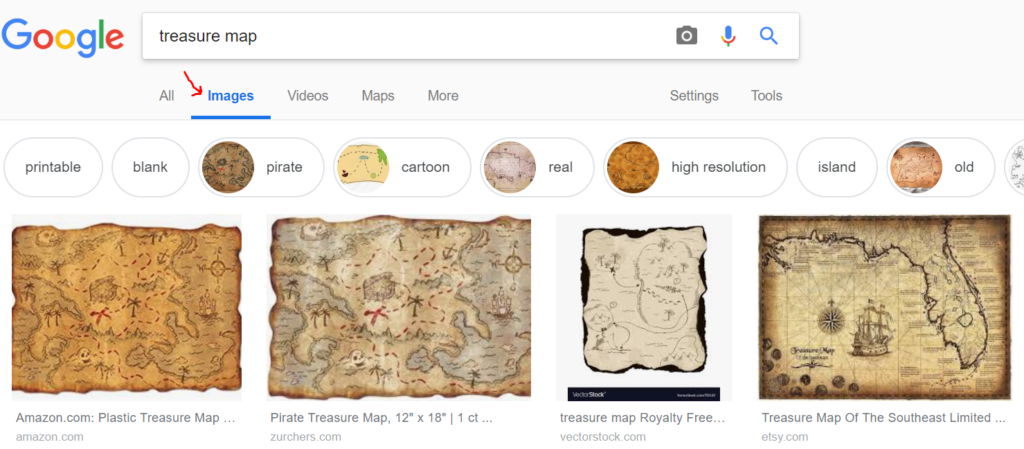
2. Click Images.
3. Then, click Tools and Usage rights.
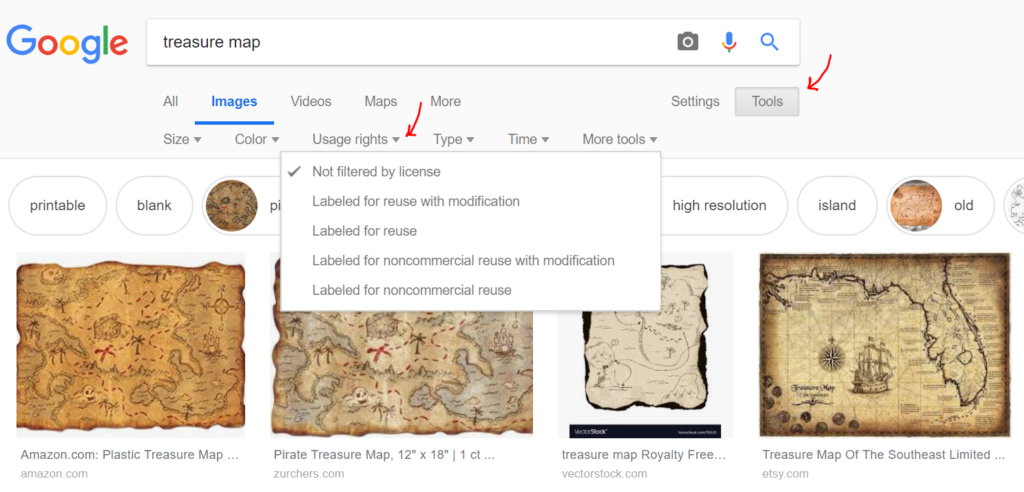
You have several options to choose from. Better safe than sorry!
So, I found a treasure map I liked and started to add some embellishments. I added other pictures and made them transparent. And then I hand drew the rest of the map with a stylus.
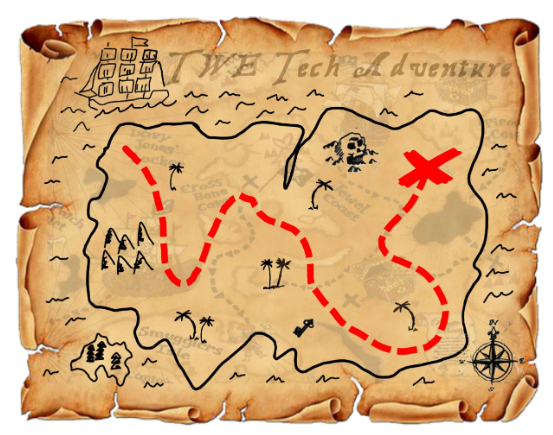
The font is Treasure Map Deadland from dafont.com. I added the title using that font and then made it a bit tranparent, as well.
In order to make the badges out of the map, I used a White Crayon setting and drew lines through the map to make the pieces. I wanted the edges to look a little “torn” so I thought the crayon setting did a decent job of that.
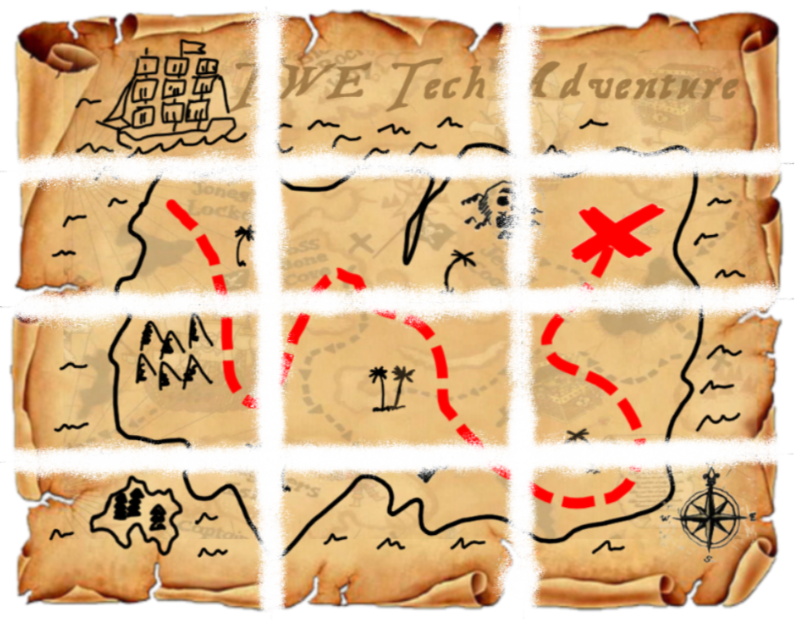
With some white space around each “badge,” I was able to snip the twelve pieces and save them for later.
Next up is the levels and ranks I used.