
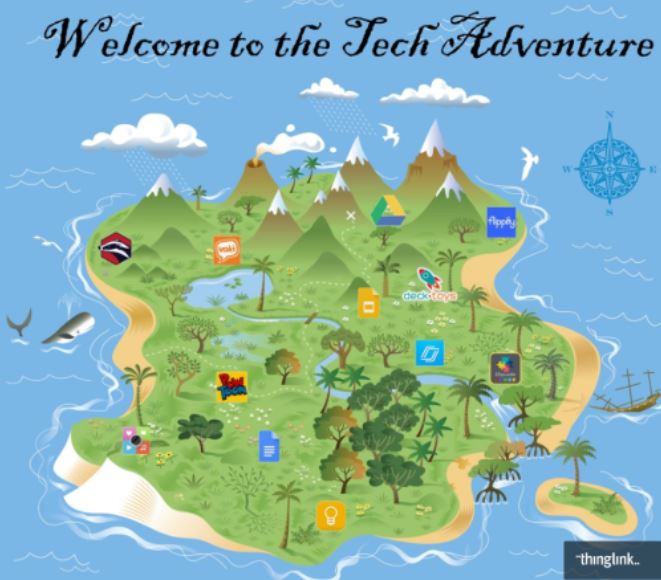
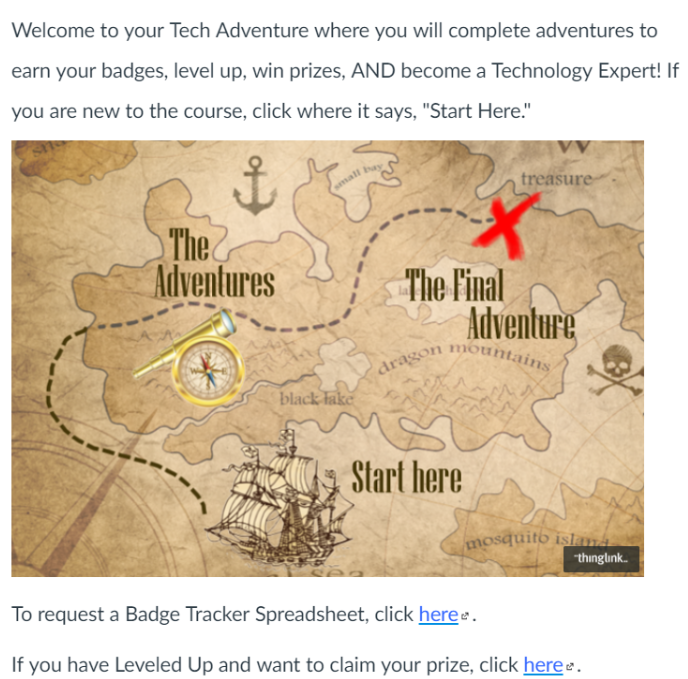
There was more freedom to create a choice board for course participants to pick and choose their lessons since lessons weren’t housed in a Bingo Board. I found another treasure map of sorts and added small pictures representing the lesson topics.
I used Thinglink to make the board interactive. Before you work with Thinglink, it’s a good idea to have each hyperlink ready to cut-and-paste for each lesson topic. This would be the direct link to the first page in each Adventure.
Linking Your Choice Board in Thinglink
- Search for a picture to use for your Main Menu. This will be your “Choice Board.”
- Download and save the image.
- Open this image in Google Drawings or a photo editor of your choice.
- Add pictures or icons that relate to your adventures (or missions).
- Open all of the Adventure pages in each of the Canvas modules. Use CTRL+Click to open them all in new tabs. You will need each URL to hyperlink the Thinglink.

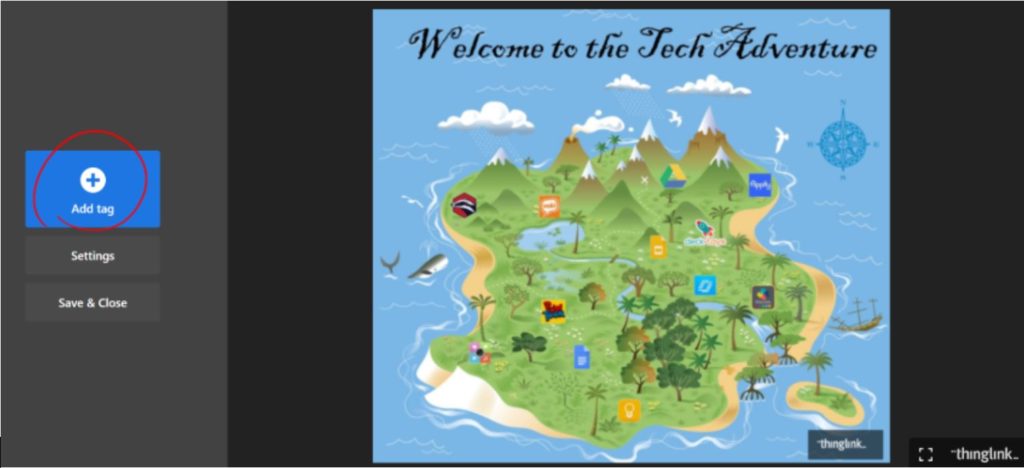
- Create a Thinglink account and then click Create>Upload Image and choose your image.
- Click Add tag
- Choose the Thinglink pop-up template. You’ll notice the tag in the middle of your picture. You can move it later.
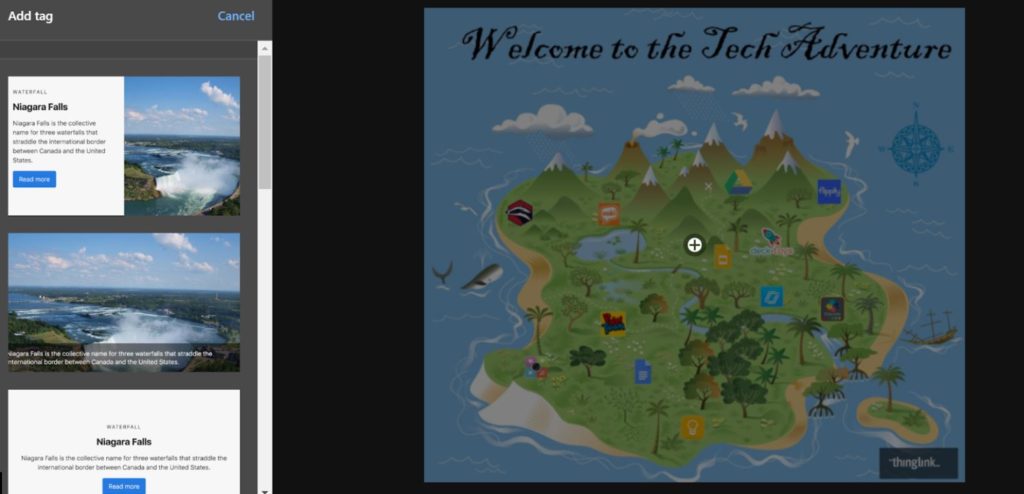
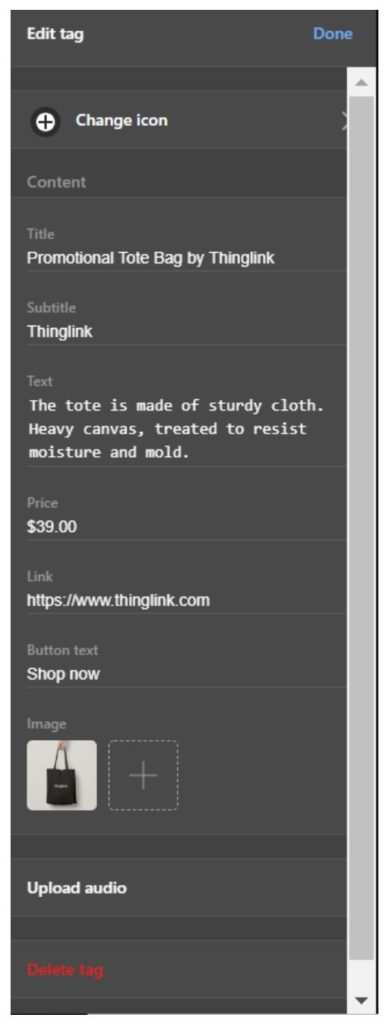
- Once you have chosen your pop-up template, edit your tag information.
- Change the icon by clicking it, if desired.
- Change the Title to Adventure 1
- Delete the subtitle, if desired, or add more details about the Adventure. For example, “Linear Equations” or “Progressive Era.”
- Type a description of the mission in the text: “Welcome to Adventure 1. In this adventure you will….”
- Delete price.
- Copy the A1 01 Objective link and paste it in the Link area.
- Button text can say something like “Go to Adventure” or “Read More.”
- Delete the shopping bag image and then click the “+” to add your Adventure 1 badge.
- Click Done at the top-right.
- Move your tag to its desired location.
- Repeat for the other Adventures.
- Click Save & Close.
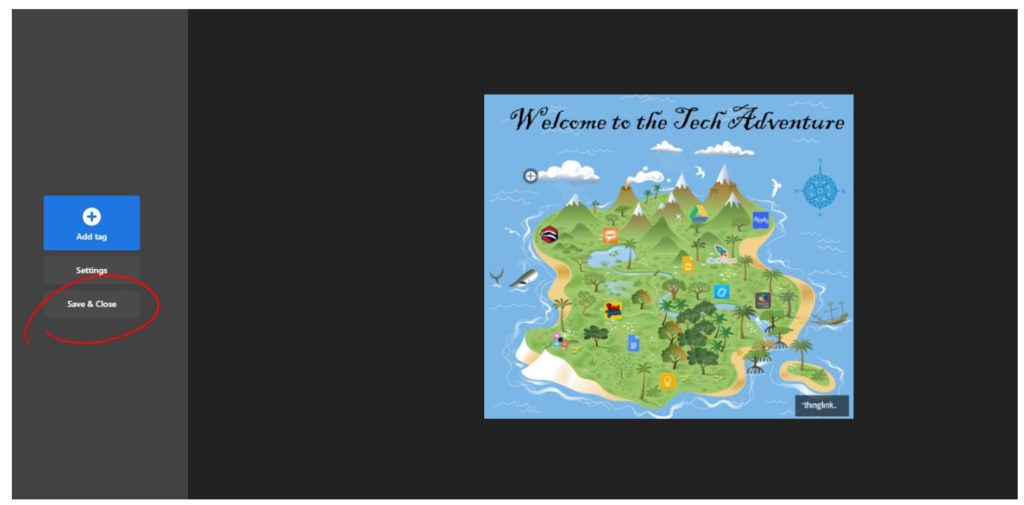
- To change the name of your image, click the Settings gear.
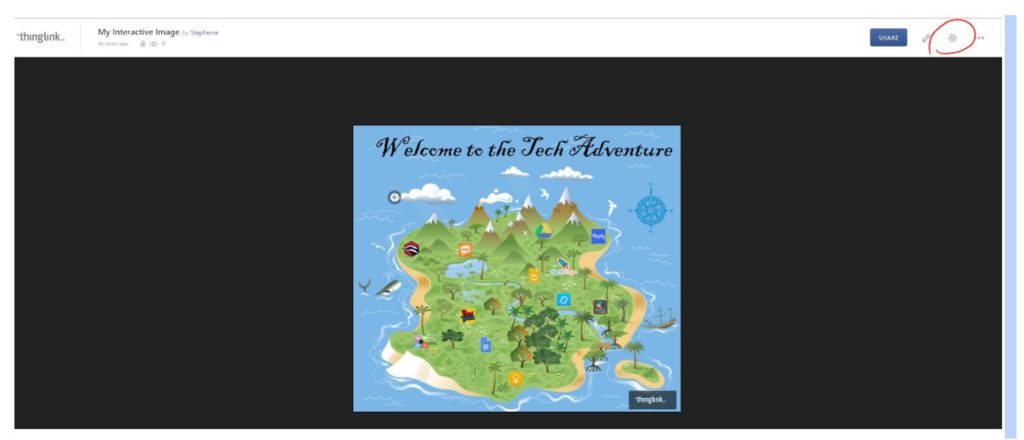
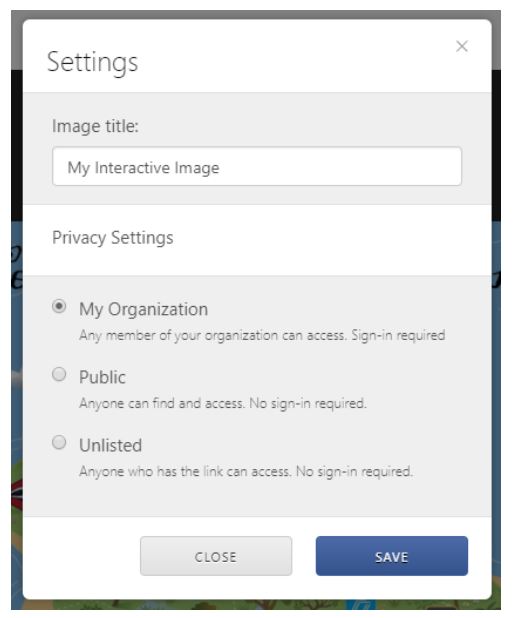
- When you click the Settings gear, you have the option of changing the Image title and changing privacy settings.
- Make it public so the embed code will be available to you.
- Click the blue Share button and click Copy Code.
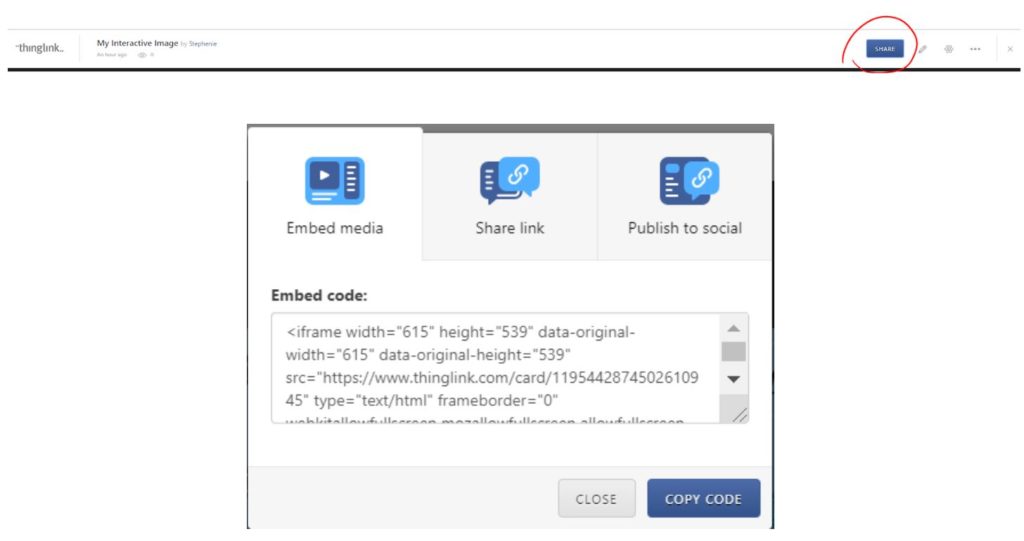
To embed the Thinglink code in Canvas:
- Go to Canvas, create a new content page titled Adventures Menu (or Main Menu), and click “Edit.”
- On the top-right of the page, click .
- Paste the Thinglink embed code and click Save or Save & Publish.
NOTE: The links you are using for the main menu and the home page in Thinglink are specific to each individual course. If you copy this course to your live, student course, you will need to change these links!! You can clone your Thinglink, but name it specifically so you can distinguish between them.
Create a Homepage
After creating your Main Menu (Choice Board), you will need a place for your participants to “land” when they open your course. On this homepage will be two options:
- Go through the Introduction or
- Go directly to the lessons.
Since an Introductory Module will be required, new participants will not be able to go directly to the Choice Board. So, on the homepage, put another Choice Board, so to speak. Use Thinglink to put tags to each link again.
Example:
Be sure to choose this page as the Front Page if you are using Canvas and make sure it is assigned as the Home Page. For a page to be eligible to be a Front Page, it must be published.
For this course, there was also a Final Adventure to be completed if a participant earned all of the pieces of the treasure map. How I wrote that and what I included in it is in the next post.